
How to Install the Home Composter
So you’ve just received your brand new Home Composter package – now what?
If you are planning to DIY your Home Composter installation, this page is a guide to installing your Home Composter with everything you need to know to make the process as seamless as possible.
Start by watching the video below to see a demonstration by Tim which you can follow along with:
If you want to download or print an installation guide, click here for the PDF version of these instructions. Or keep reading for the written instructions below.
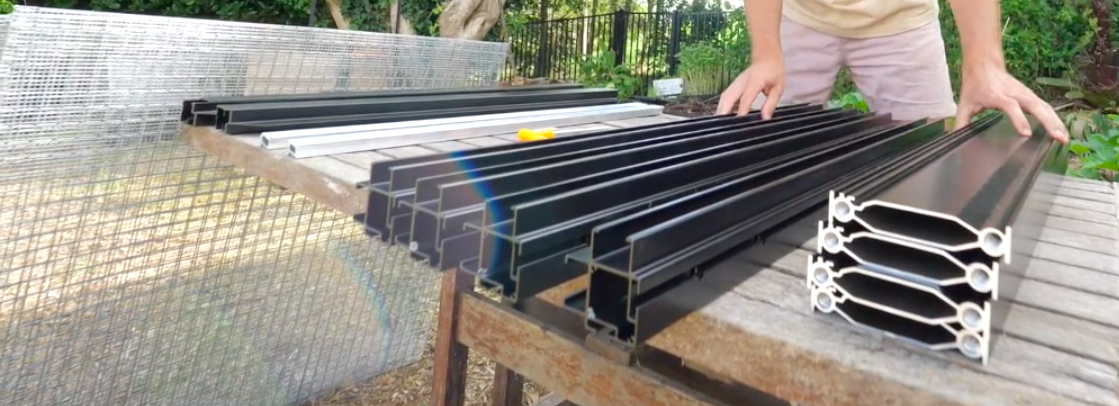
What you should have in your kit:
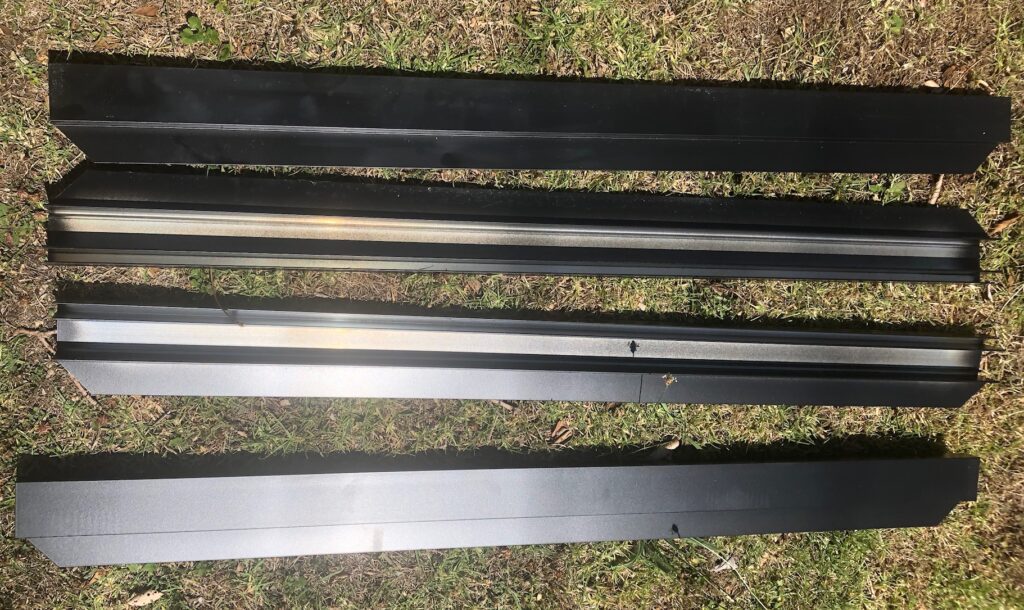
Rails (4)
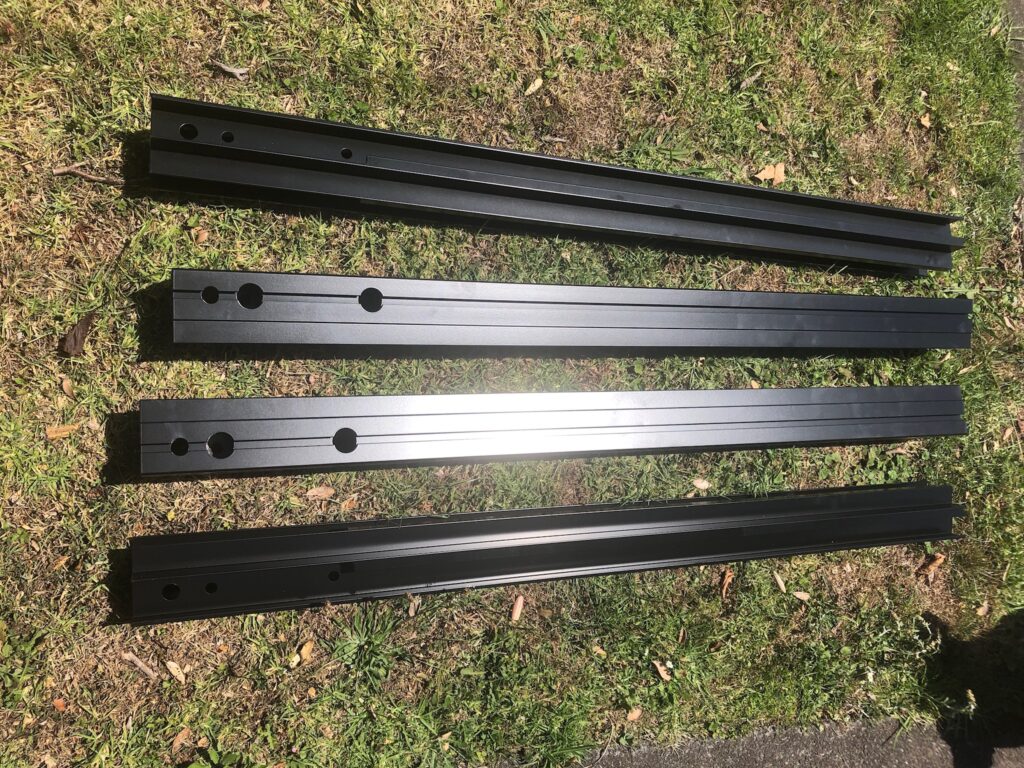
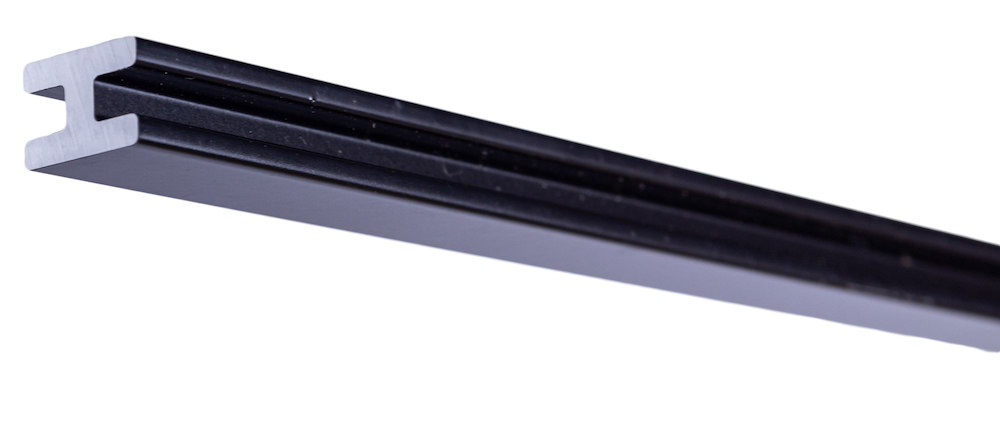
Columns (4)
Each column has 4 holes at the base for the hex bolts
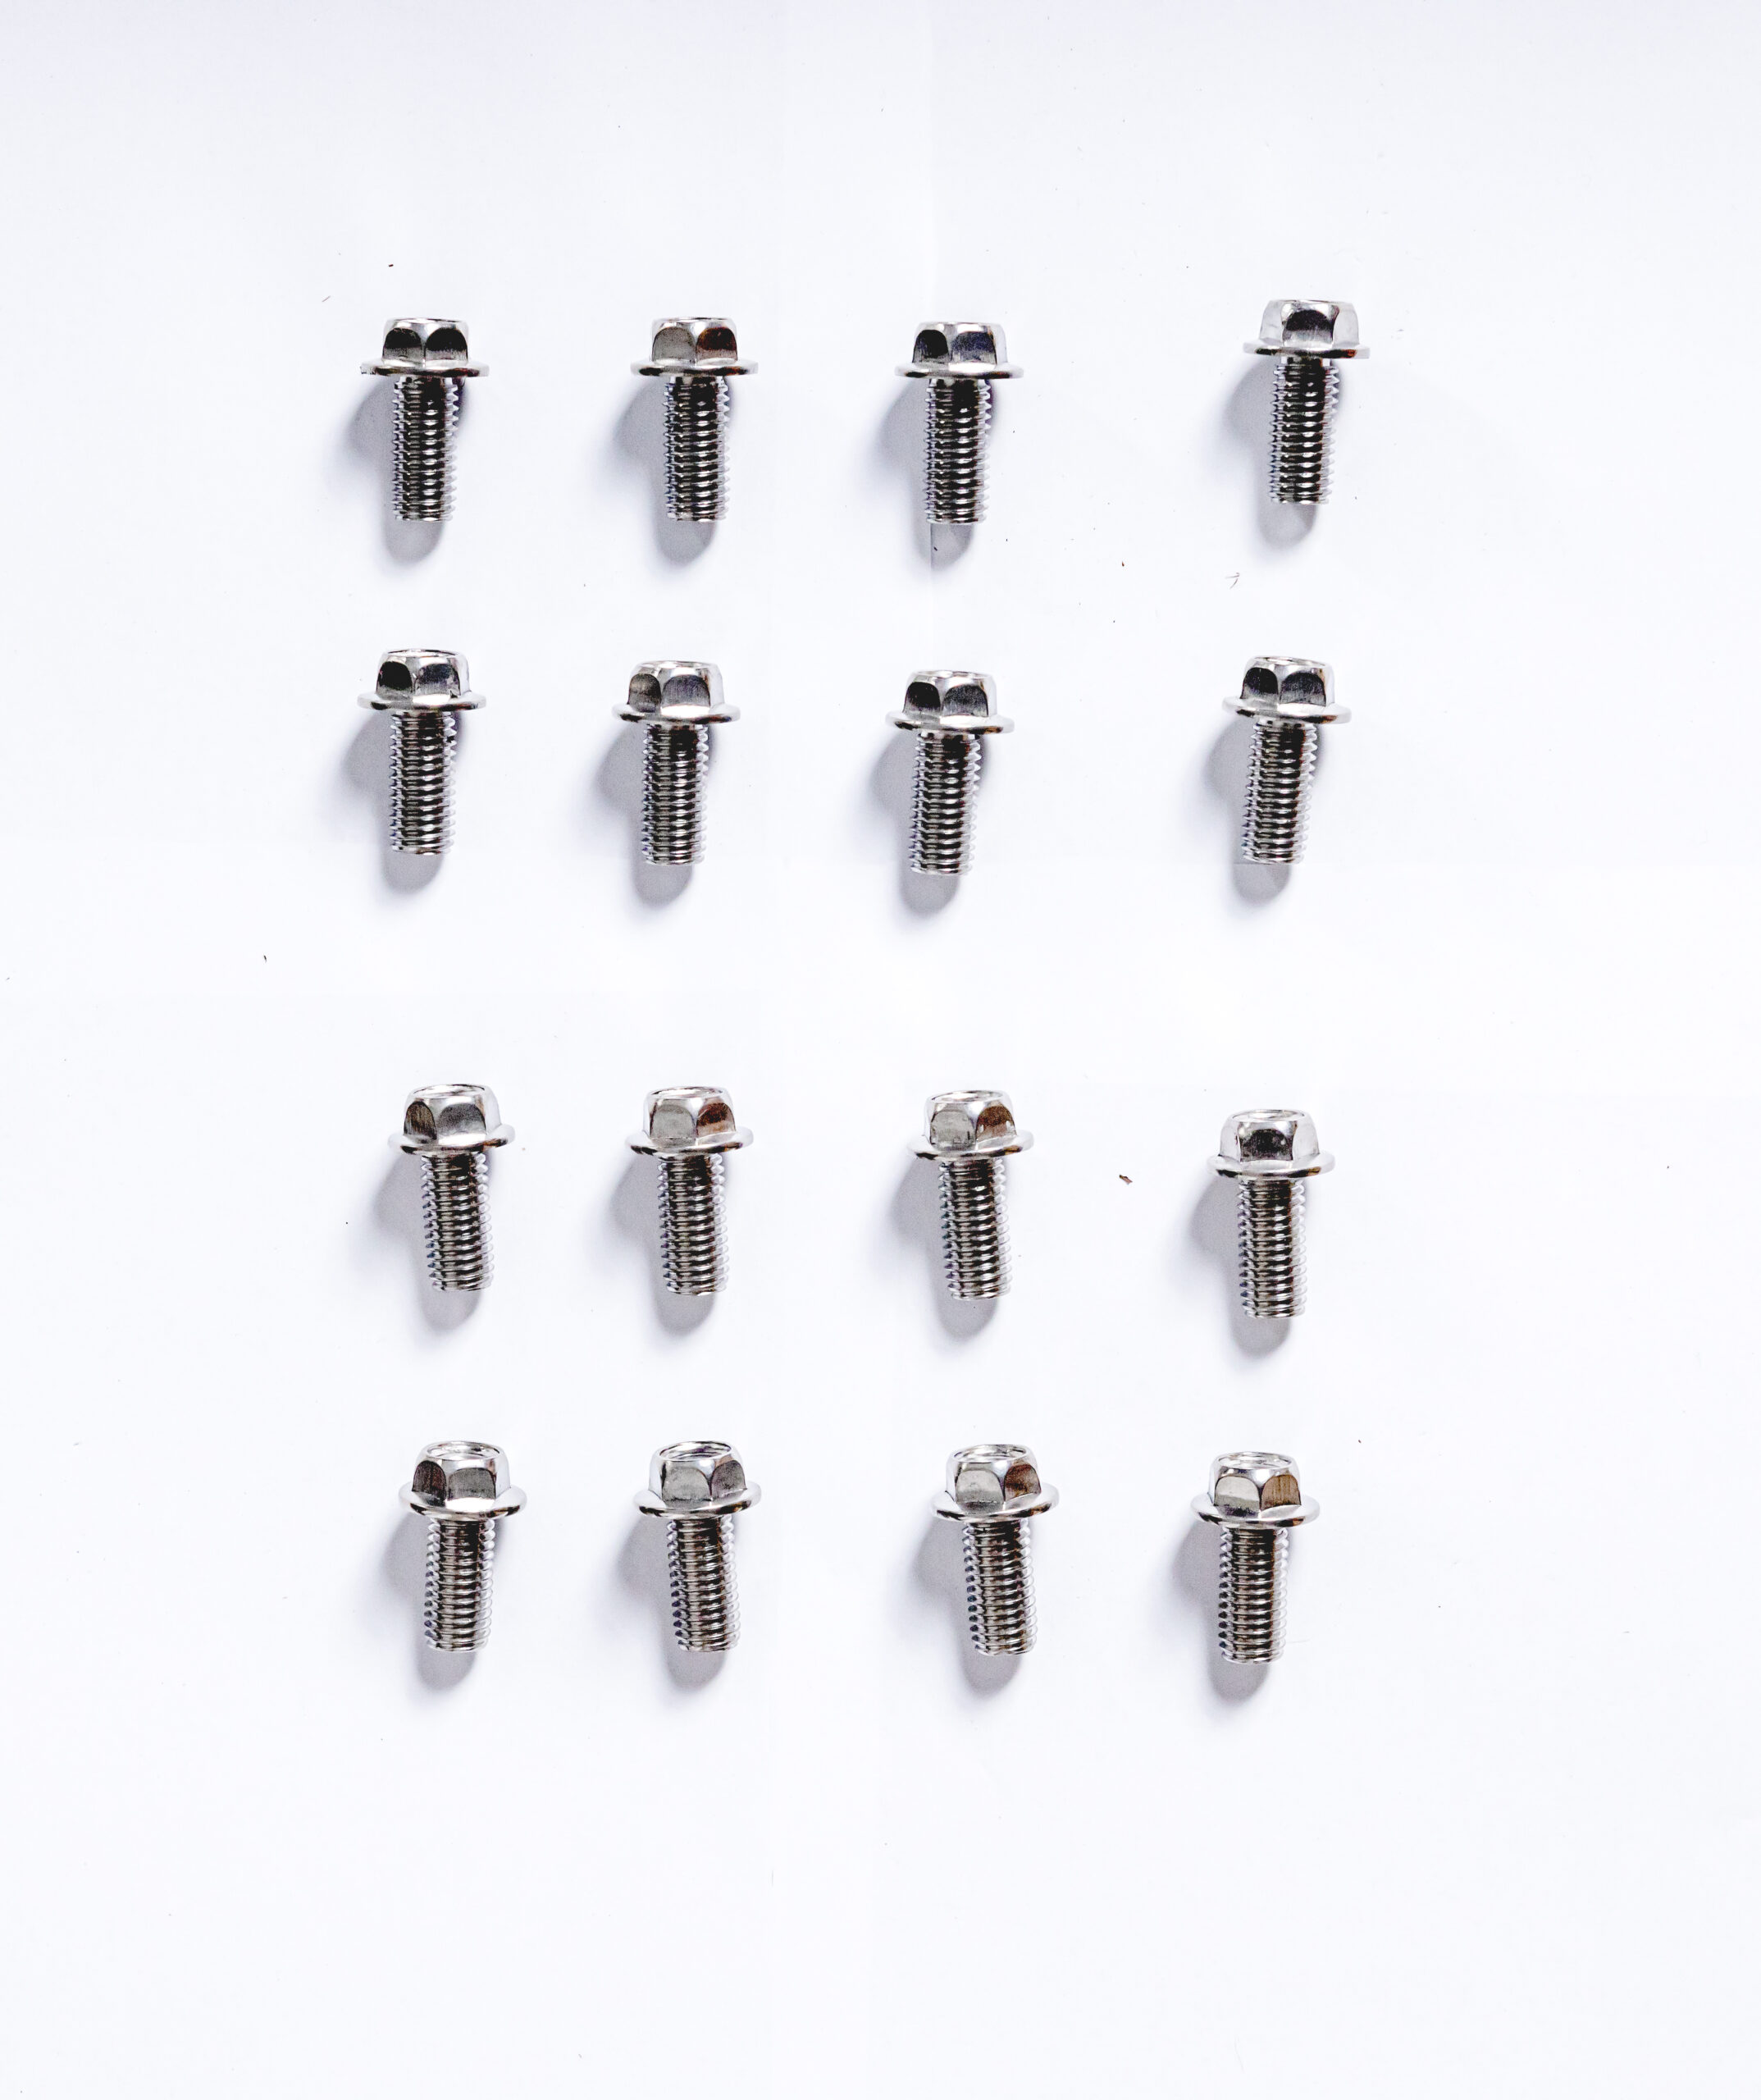
Hex Bolts (16)
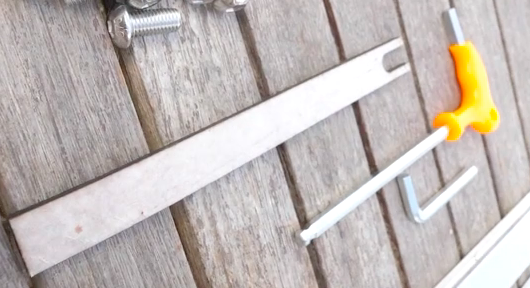
Hex Bolt Tools:
Flat Hex Bolt guide (1)
Allen key (1)
You will find it handy to have a pencil or something similar – see Step 2
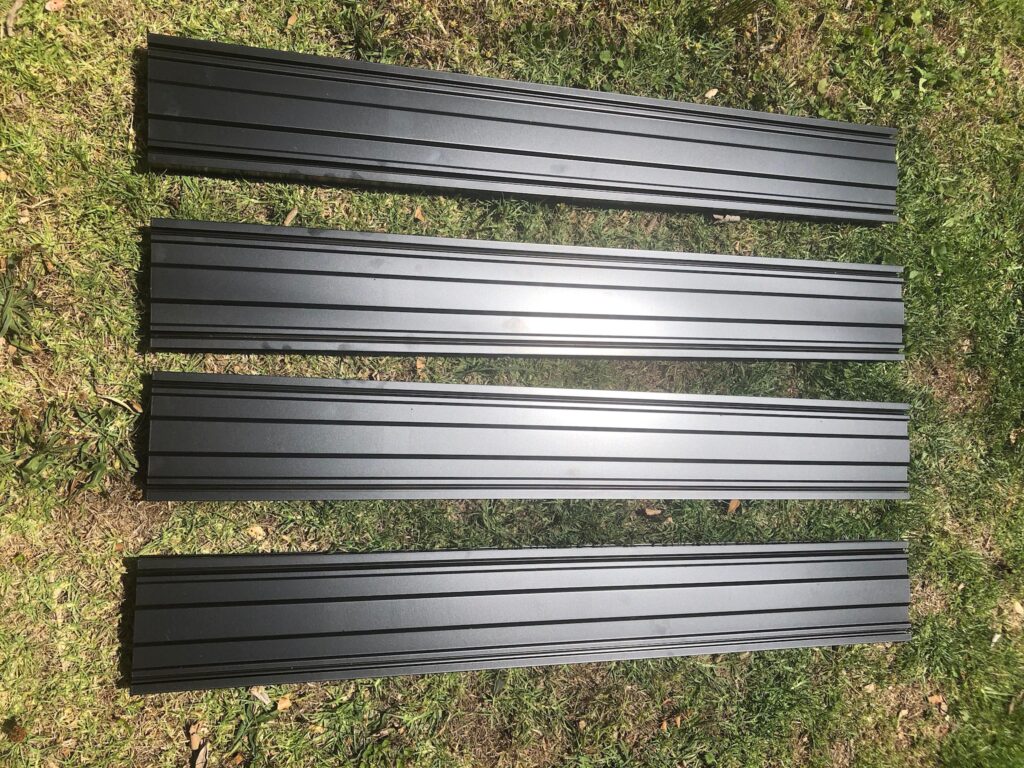
Lid Frames (4)
Not included in Starter Kit
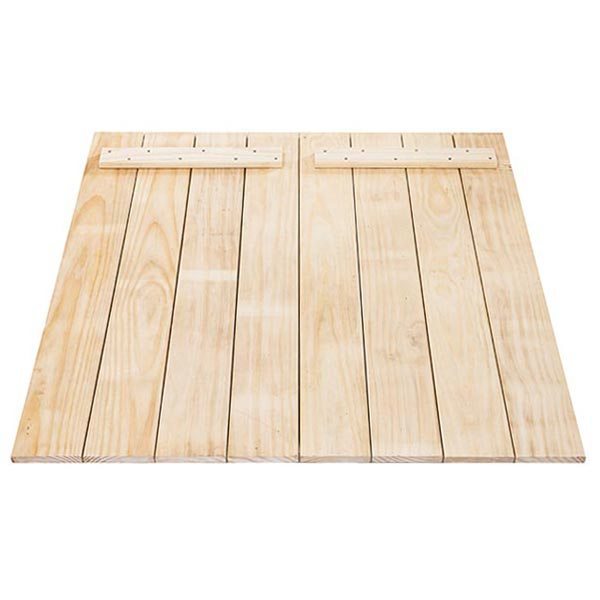
2-Part Lids (2 parts) or Lid Slats (6)
Not included in Starter Kit
Hangers for pest-proofing (4)
Not included in Starter Kit
Pest-proofing Sheet (1)
Not included in Starter Kit
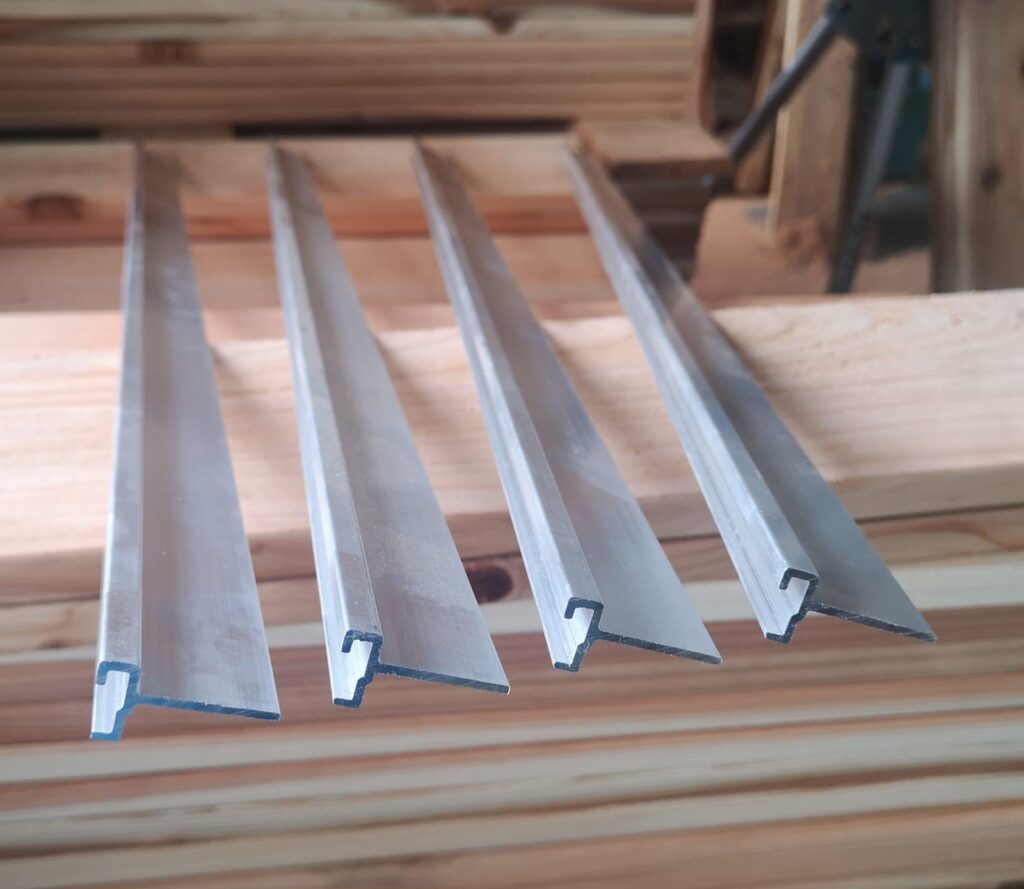
Side Slats (24)
For additional composters
H Joiner bars – 2 for each additional box
Wooden jamb – 1 for each additional box
Installation Instructions
Before you start:
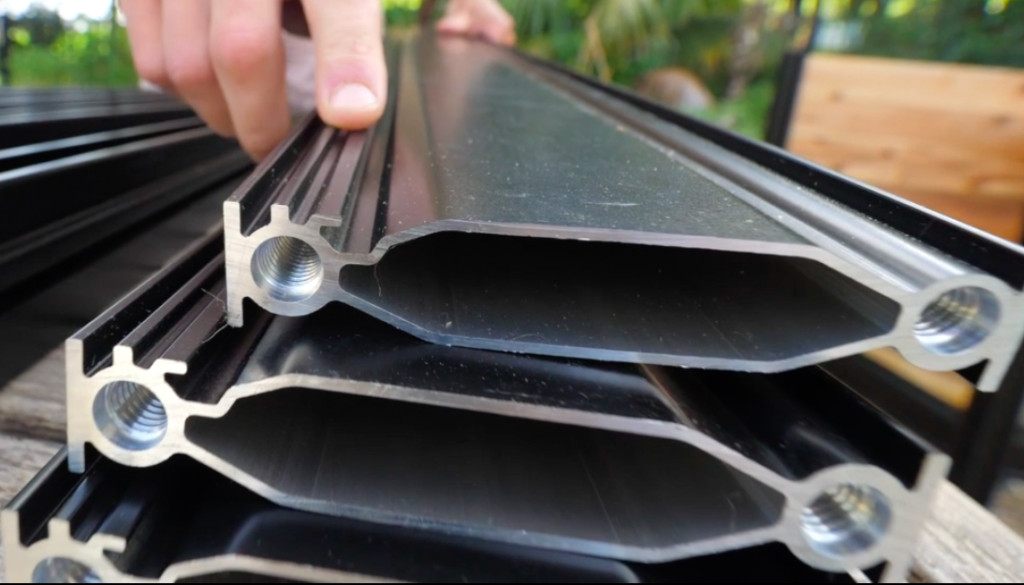
Lay out the columns with their channels facing to your right.Lay out the rails with the extra channels facing towards your right (these channels will face into the composter when installed).
Step 1: Placing the bolts in the columns
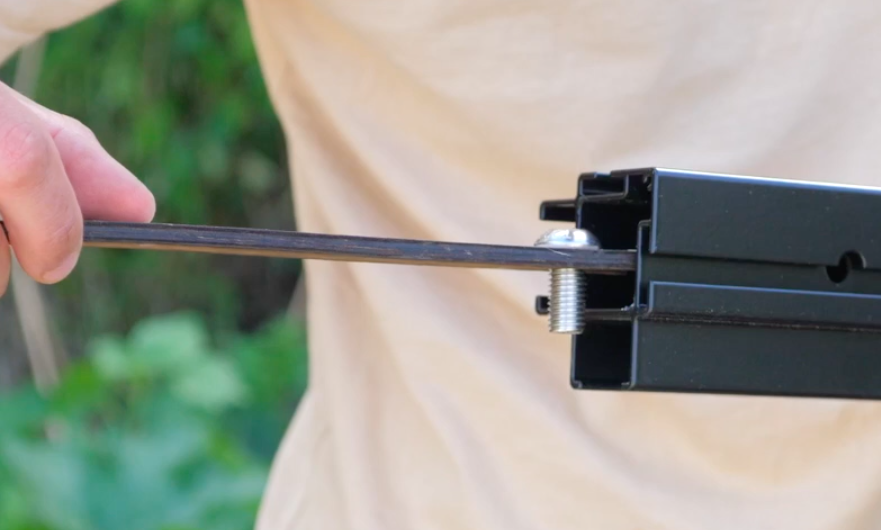
Slide a hex bolt into the hex bolt guide.
Using the hex bolt guide, slide the bolt along the column base so it is above the second hole inside the column.
Insert the allen key through the hole above to gently guide the bolt into the hole.
Repeat the above process for the first hole in the same column.
Repeat this process for the other 3 columns.
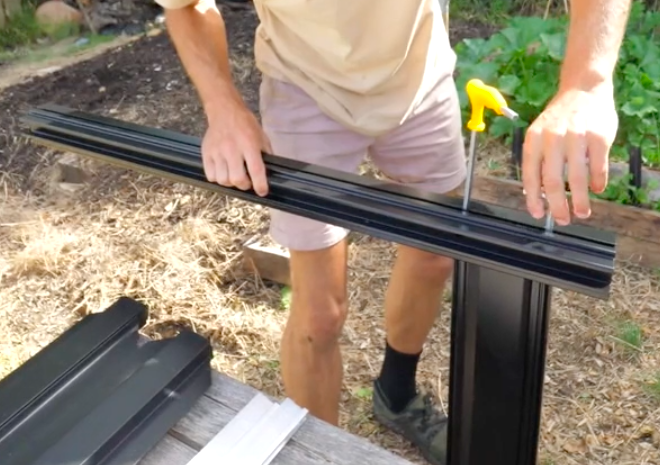
Step 2 : Joining the column to the rail
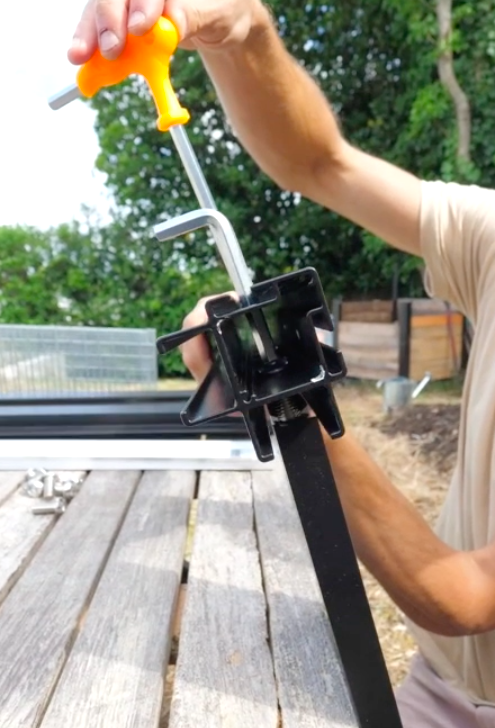
Stand a rail upright, and lean it on a bench or table with the channel-side of the rail facing the table.
Placing the allen key and a pencil or similar into the column to hold the bolts in place, line up the bolts with the holes in the rail, and use the allen key to loosely tighten.
Tighten each of the bolts. At this stage bolts should be hand-tight or less.
You will now have an L-shape frame.
Repeat this process for the other 3 column/rail sets.
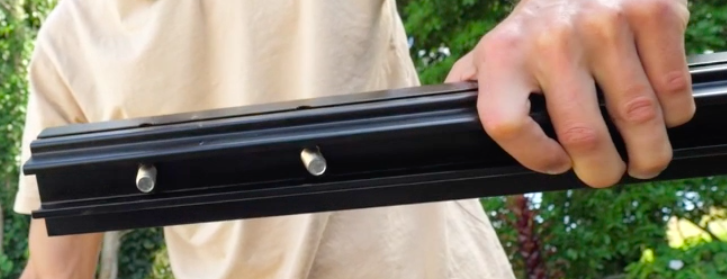
You will now have 4 L-shapes, and 8 unused hex bolts
Step 3 : Preparing for the frame
Add the last 2 bolts to each of the columns in the same way, using the hex guide.
These 2 bolts will be at a right-angle to the ones in place.
The bolts should be poking through the channel.
Ensure the channel of the rail is facing the same direction as the bolts poking through.
Repeat this process for each L-shape.
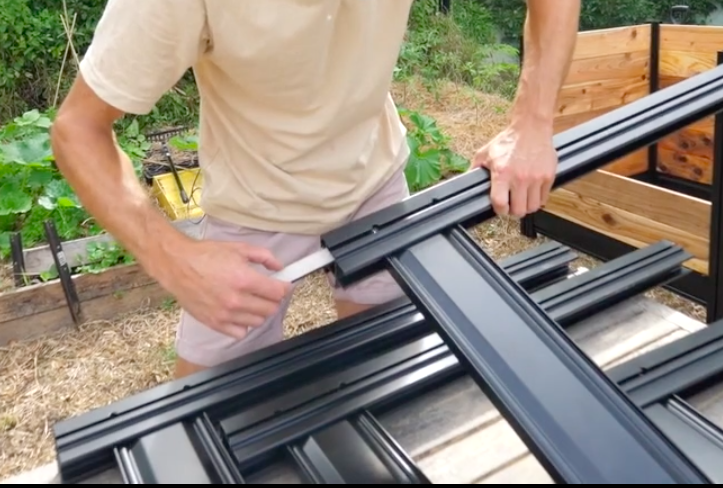
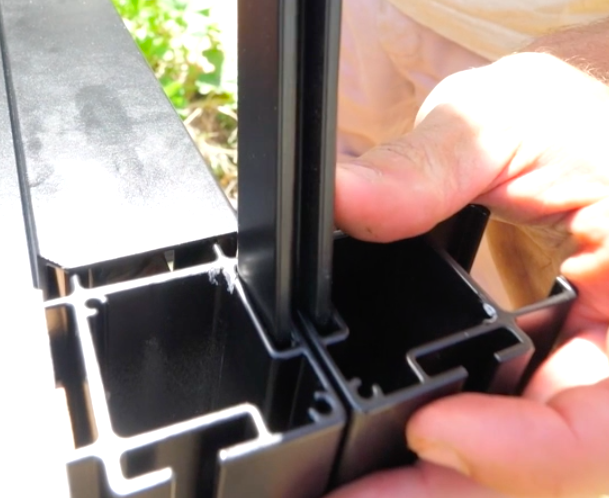
Step 4 : Putting the frame together
Putting two L-shapes together will form the first corner.
Taking one L-shape, carefully lay the column along the ground with the rail standing upright.
Take a second L-shape and, as before, use the allen key and pencil or similar to hold the bolts in place.
Rest the second L-shape onto the rail of the first L-shape, guiding the bolts into place in the rail (note : if the bolts are not going in easily, the 2 L-shapes may need to be straightened to ensure they are at right-angles).
The side with the two posts can then lie on the ground as the next L-shape is added in the same way.
Repeat the process for the third L-shape.
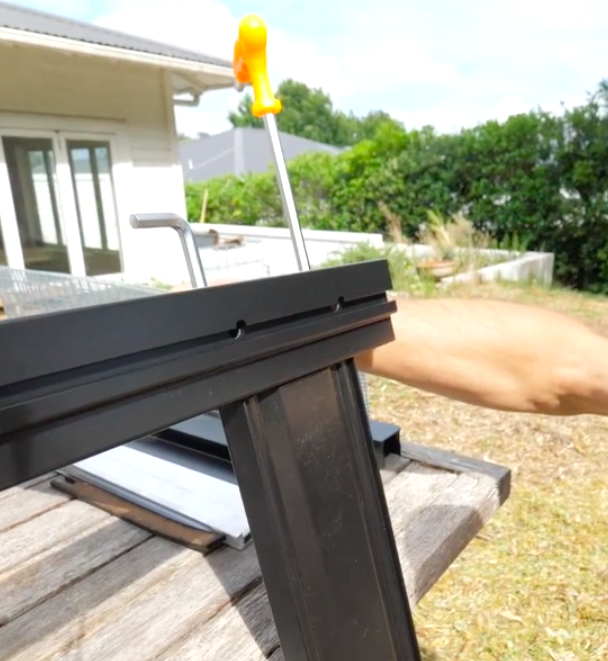
To add the 4th L-shape, lay the frame on the ground with one rail standing upright.
Slide the rail of the 4th L-shape into the column it will be joining to before guiding the corner of the 4th L-shape into the upright rail. Tighten the bolts as before on the corner. Turn the frame upwards and hand tighten the final bolts.
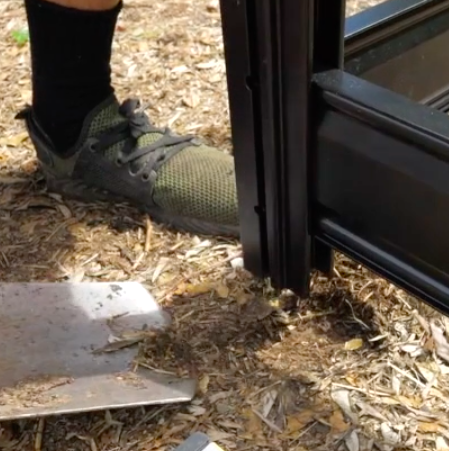
Once the bolts are all in place, place the composter upright so the formed square is on the bottom with the four columns pointing upwards.
Please note: rails should not have contact with the ground when the composter is upright in its final position.

Step 5 : Levelling the Home Composter
Ensuring the Home Composter is level on the ground is important for aesthetic and practical purposes.
The composter is best placed on an earth base.
Levelling can be done by digging down on a side or putting a support under a column. It is best not to raise it more than a few cm.
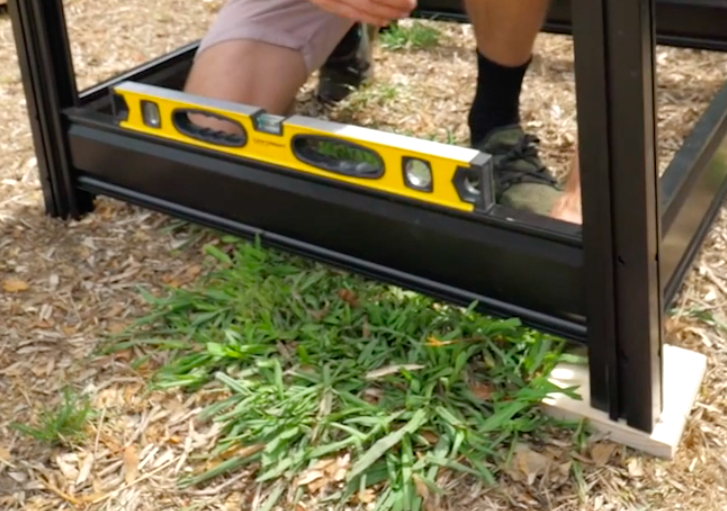
Levelling can be checked on each side by using a level on the rails.
Once levels are acceptable, all bolts can be fully tightened. You may need to use a lever with the allen key at this stage.
Do a final level check as levels may change when tightening the bolts.
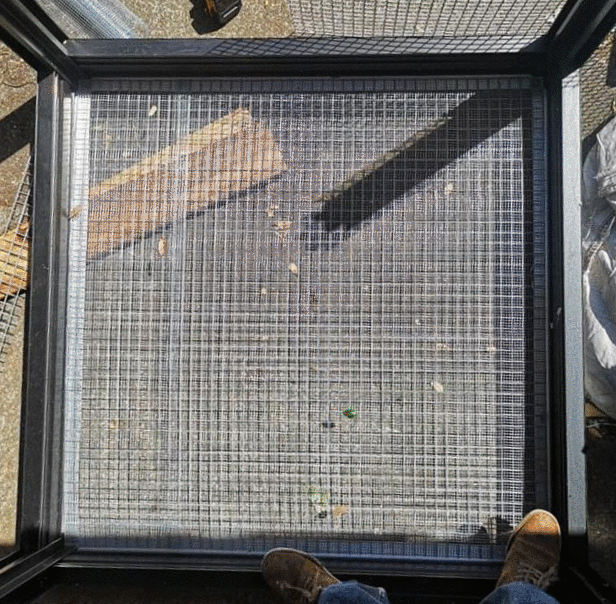
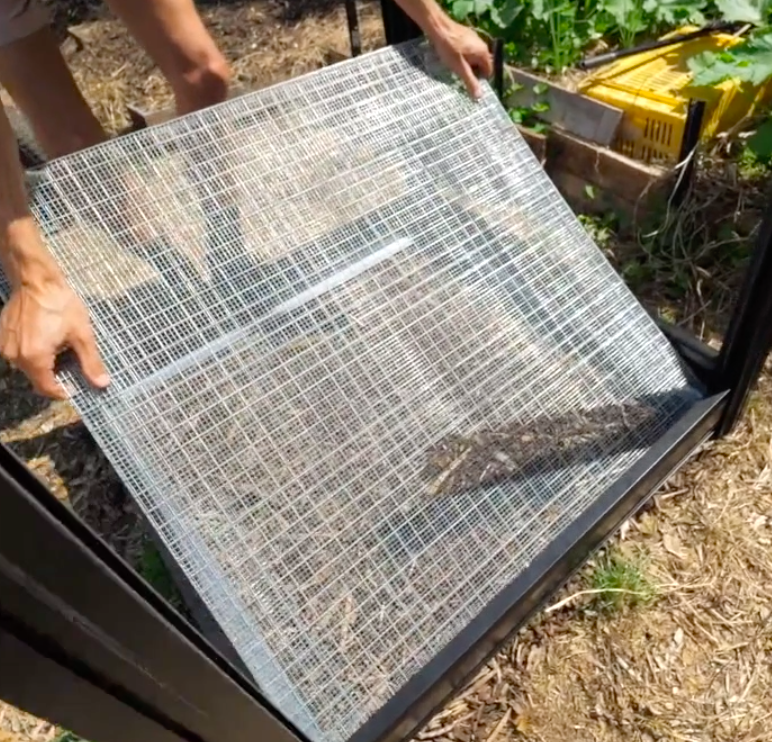
Step 6 : Pest-proofing (Standard and Premium)
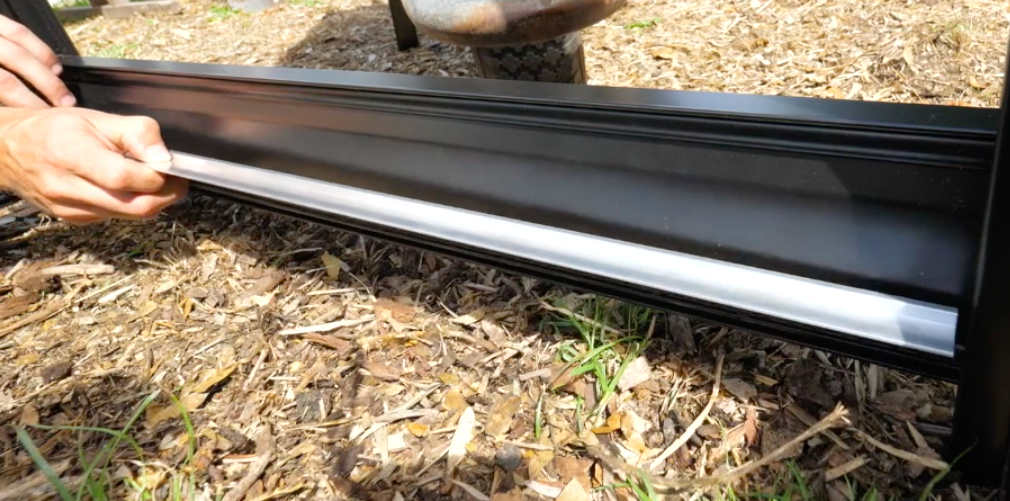
The lipped side of the pest proof hangers slots easily into the channels in the rails.
To support the pest proof mesh, fill the bottom of the composter with chunky carbon such as wood mulch up to the level of the pest proofing hangers. This carbon matter will help filter liquids from the compost pile, and will take some of the weight of the compost so as to reduce the load on the pest proof mesh.
Please note: carbon should also form the base of the pile up to at least the top of the rails. Carbon should be refreshed if it ever becomes too moist. Please be aware that this base level will not form part of the final “compost” as it willnot have been turned as often. It can simply be mixed into the next pile.
The pest proof mesh can now be placed inside the composter frame on top of the hangers and carbon matter.
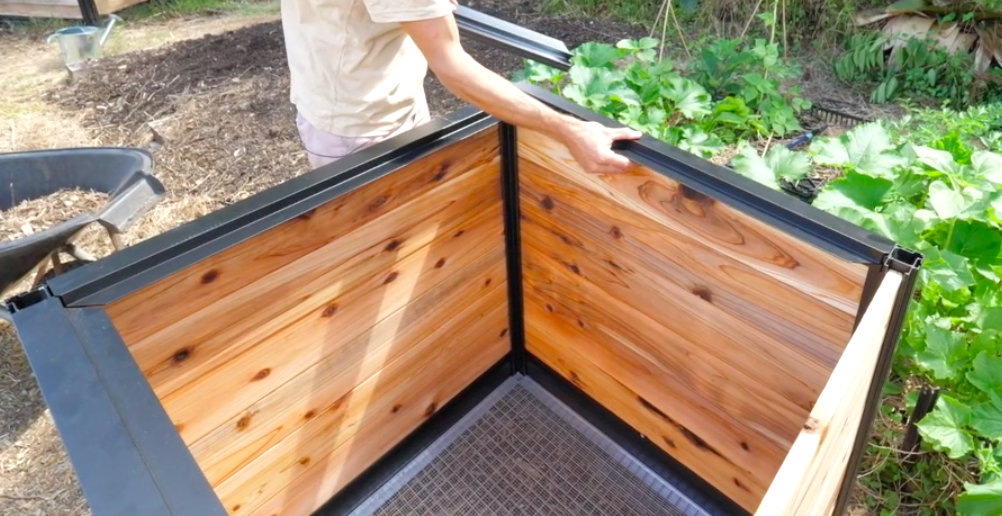
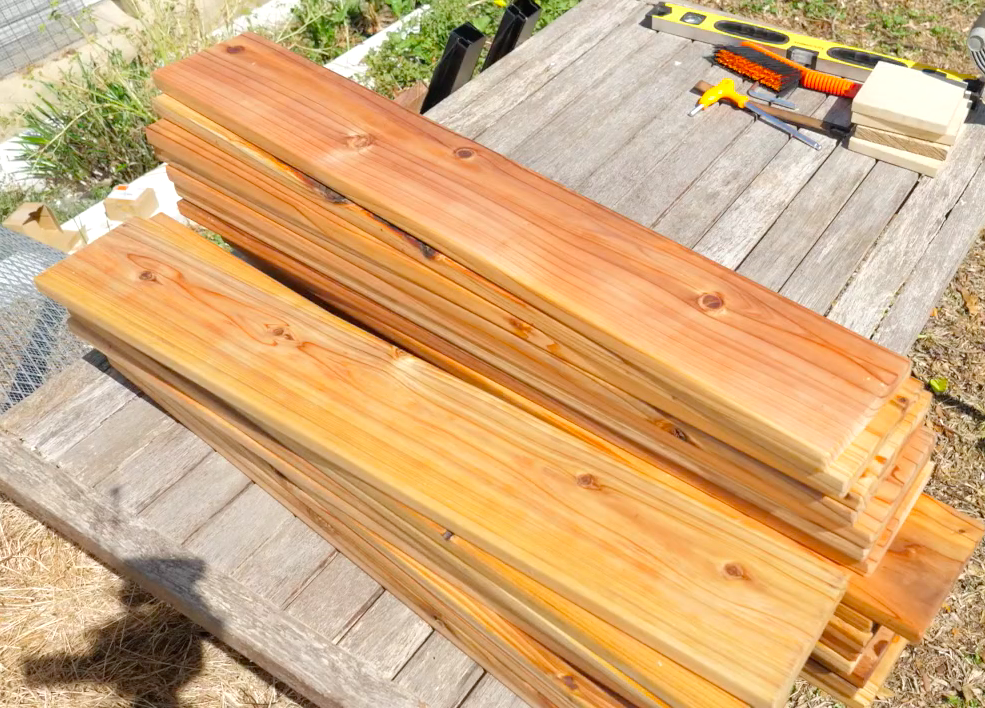
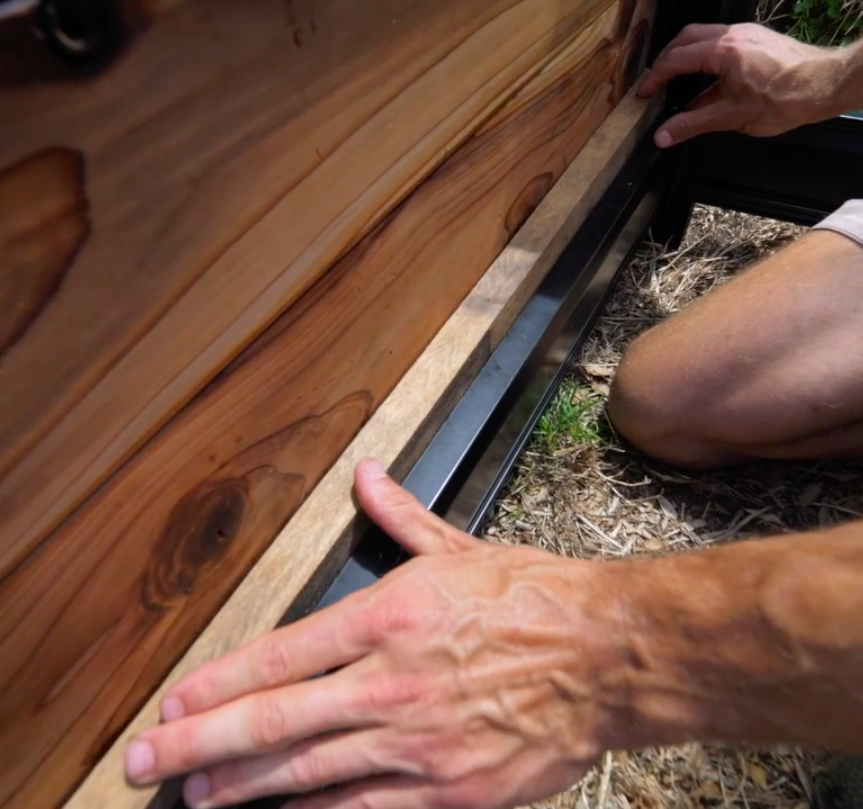
Step 7 : Putting the slats in place
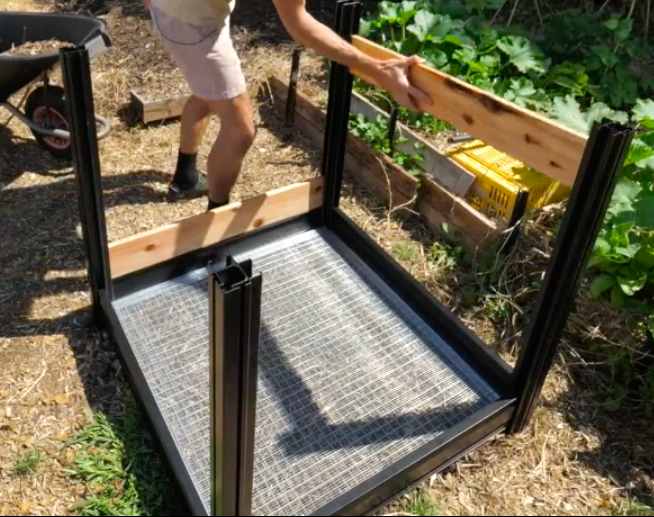
The wood slats can now be slid into the cavities of each column.
There are six wooden slats per side.
Step 8 : The Lid (Standard and Premium)
The lid frames rest between the columns and over the wood slats.
The 2-part lids easily slide into the lid frames.
Lid slats simply sit inside the lid frames

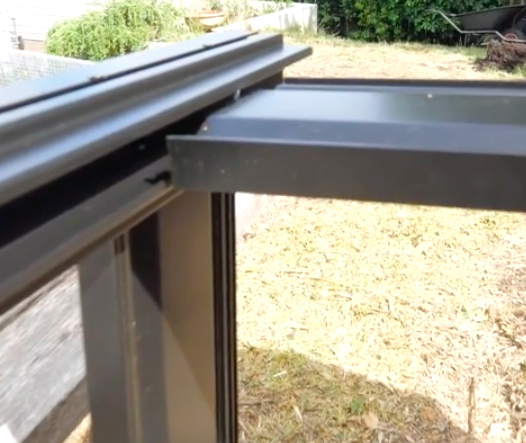
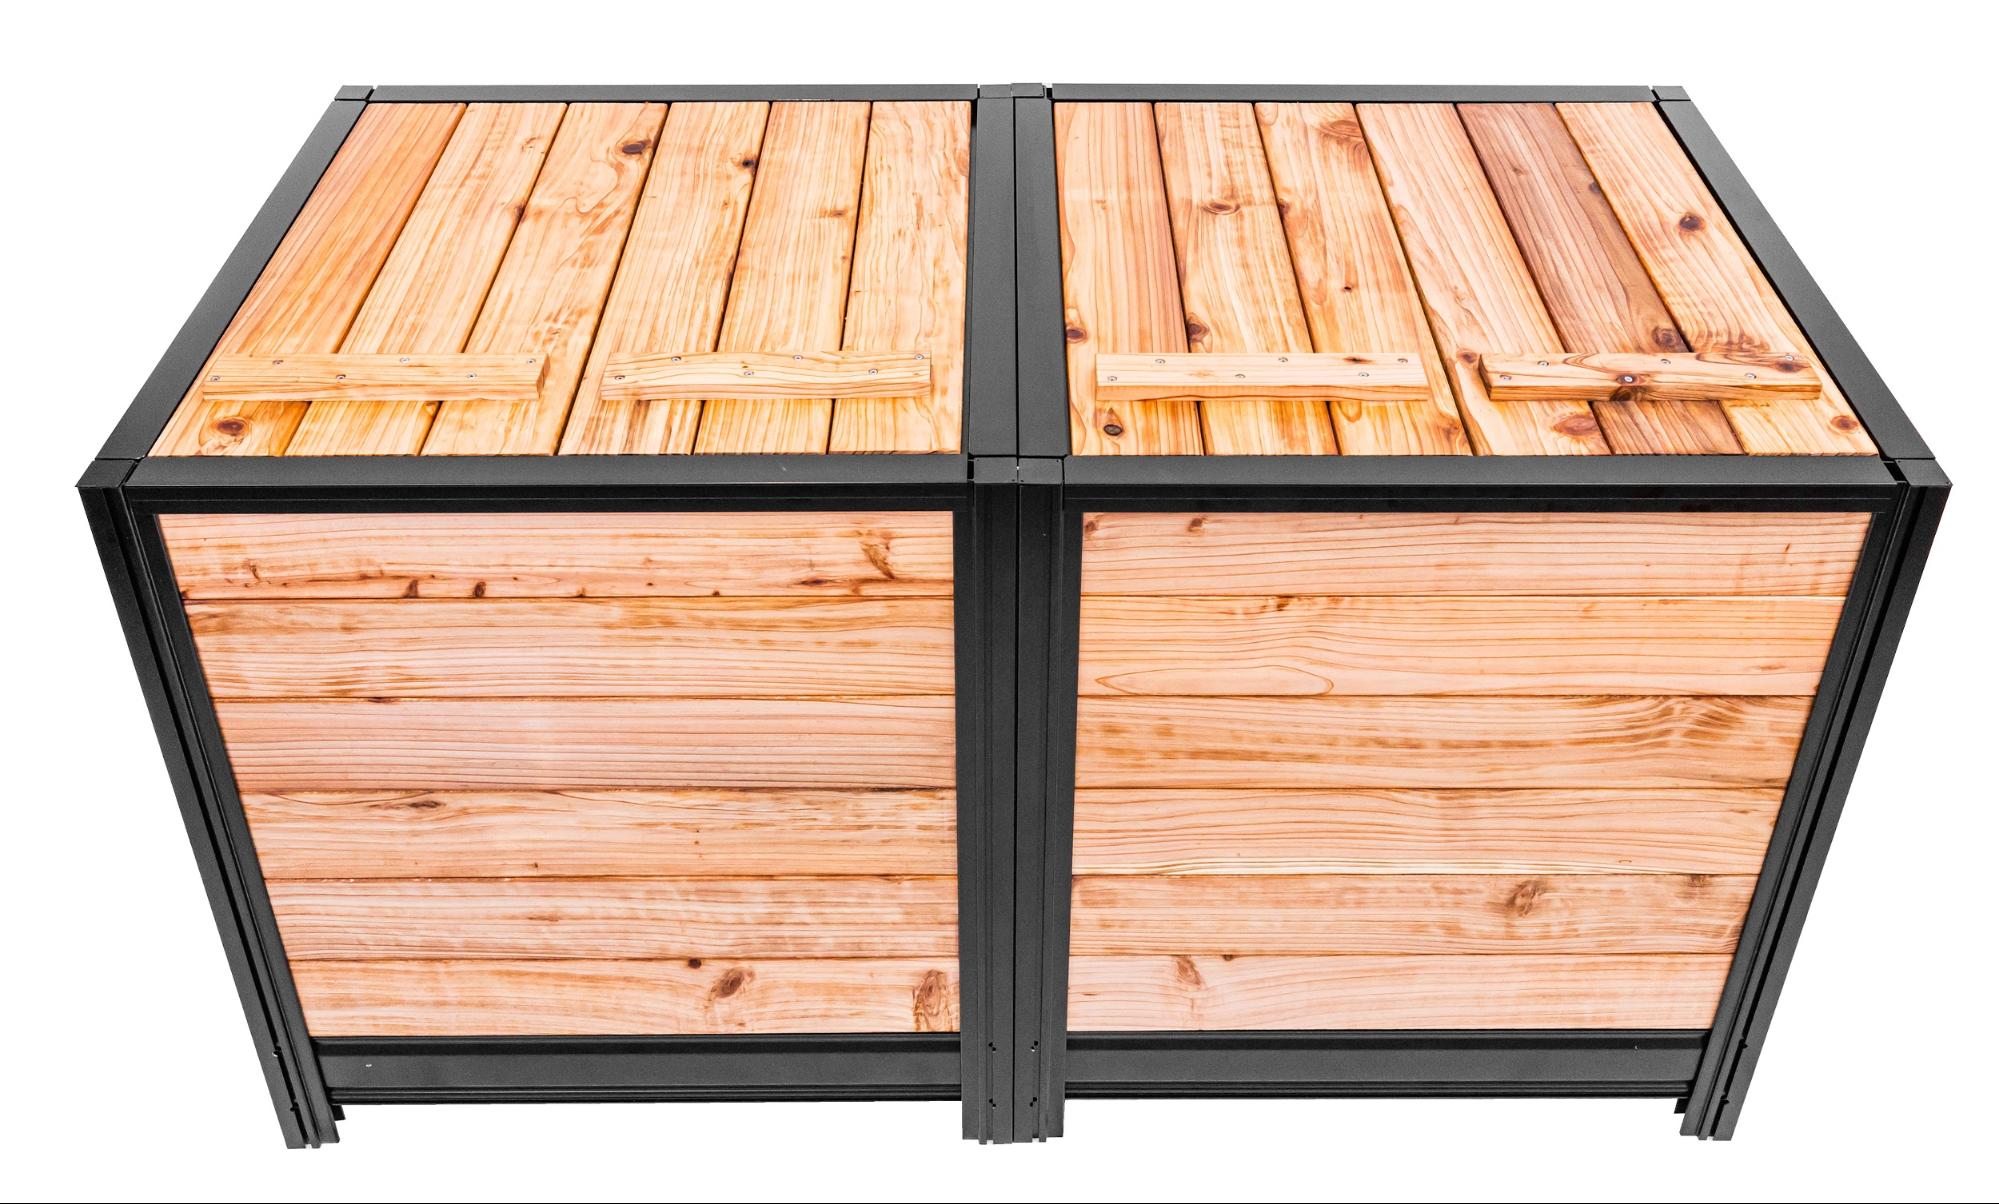
Step 9: Adding more composters
Additional composters can be attached together at any time.
If you are adding extra composters ensure they are level to each other by the same process as levelling the first composter.
The two joiner bars will slide into the ‘H’ space formed by the two columns together, and will hold them firmly in place.
Only one wall of side slats is required between the adjoining boxes. A jamb will slide into the cavity between the two rails.
Step 10 : You are ready to compost!
For information on setting up your compost, visit our website and watch The Art of Composting (coming soon).
Remember, you can save these instructions to your computer or print them by clicking here. If you need more help with your install, contact us and speak to our friendly team.
No Comments